Theory:
The tutorial that I first used had a transparency/opacity gradient and a slight light gradient (glitter). This tutorial has 3 dimensions: shade/hue, analogous hues, and transparency/opacity.
These three things need to be taken into consideration if you're going to alter the colors because you need to have the right type of formula. For instance, you might not want to lay down your transparent color first and then put your fully opaque colors on top because it might be harder to get a fade. If your doing the analogous hue shift and shade/hue shift, you also might want to consider which is the cooler of the colors is cooler and which one is warmer. Some warm colors have very murky shades (think yellow+black) whereas almost all cool colors have vibrant shades.
Ok, so onto the tutorial:
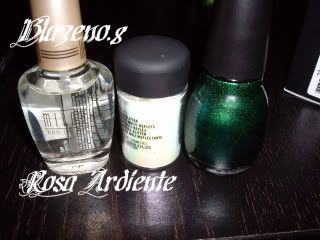
Step One: Get a base coat on.
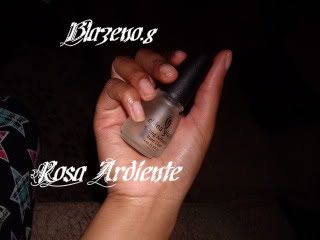
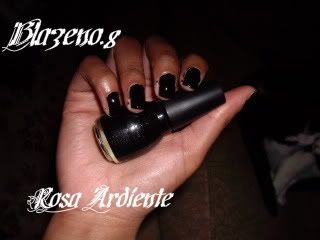
Step Two: Add a full on black base. The best black polish for this IMHO is Sinful Color's black polish.
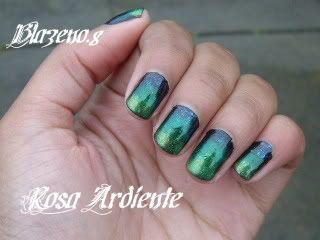
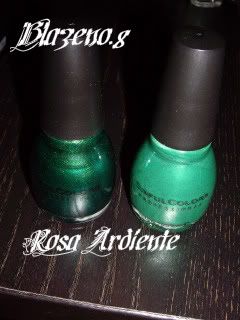
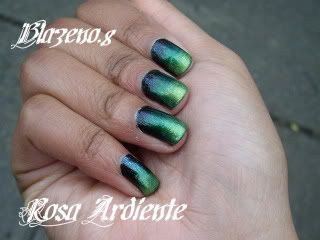
Step Three: Mix a bit of transparent teal and a cheap clear polish or if you have transparent micro glitter polish use that. Take the darkest green and bring it up 3/4 of the nail. Use the transparent teal polish to cover the rest of the exposed black and go slightly over the dark green.
Step Four: Take a green that is closer to the hue and a little more yellow and bring it 1/2 way up the nail. At this point you can slightly go over the line with the dark green to help the colors blend.


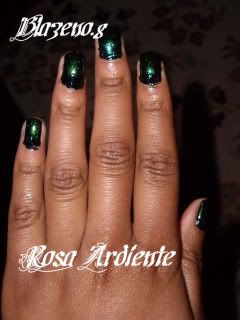
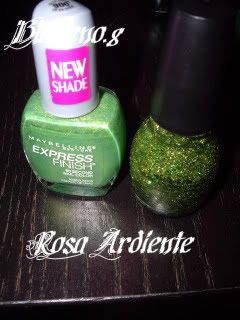
Step Five: Once this has dried a bit, I take the yellow green and put a bit of it down like a tip. I let it get a little tacky before blending it out with a glitter polish that has both peridot colored glitter and emerald colored glitter.
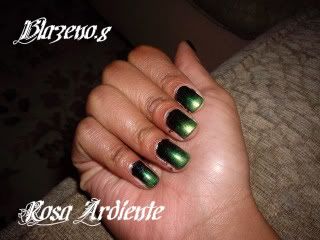
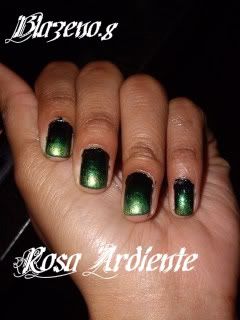
Step Six (Optional): Add a black french tip. I will do this one today:D
Step Seven: Top Coat
No comments:
Post a Comment
Thank you for taking the time to leave a comment on my blog (always much appreciated)! If you would like me to check out your blog feel free to e-mail me. Please be aware that comments with either advertisements or links will be deleted.