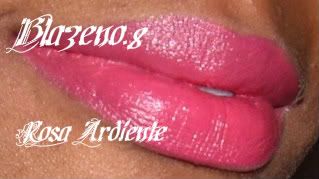
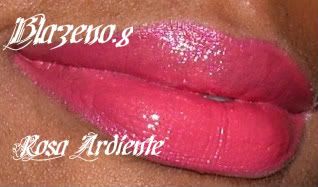
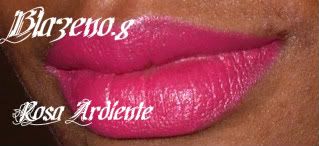
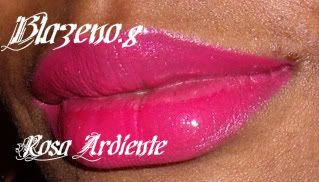
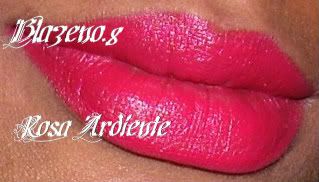
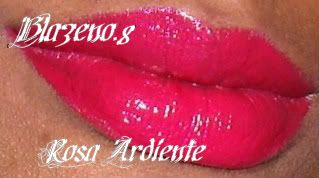
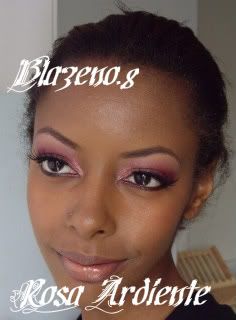
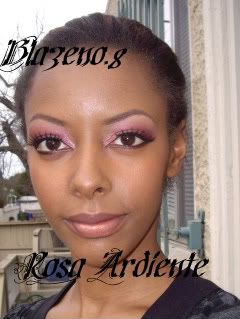
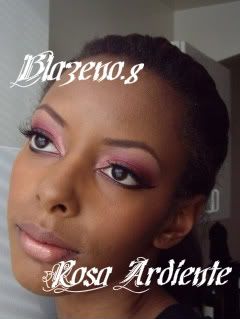
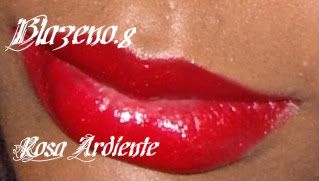
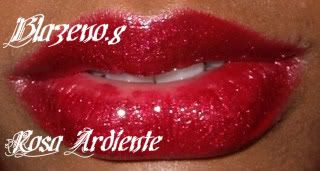
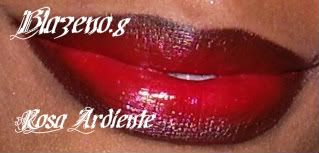
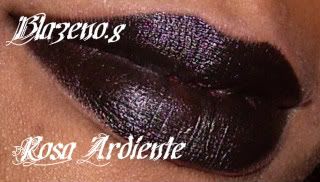
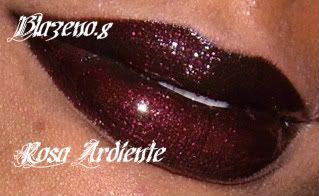
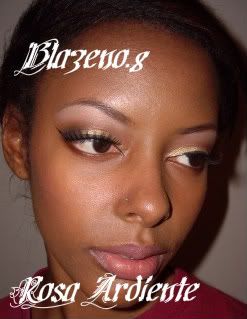
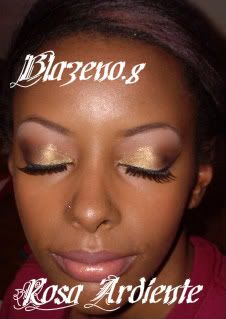
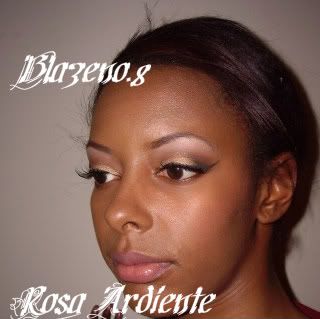
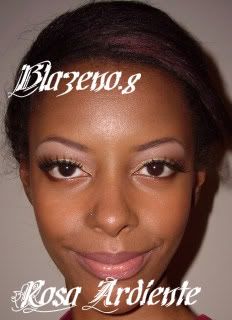
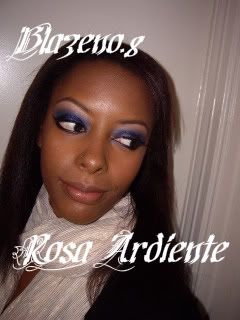
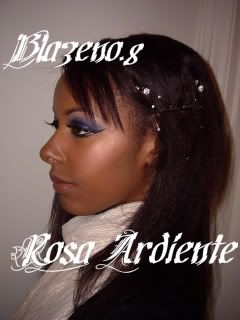
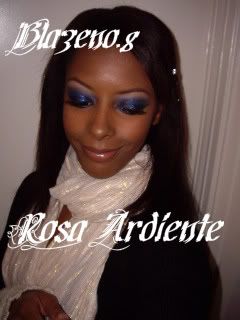
Keeping in theme with Valentine's Day aka SAD (Single's Awareness Day), here are some pink lip swatches.
Yellow-Pink Lip Liner
Midtone Blue-Red (read pink) Lipstick
With Coral-Pink Gloss
Yellow-Pink Lip Liner
Coral-Pink Lipstick
With Coral Gloss
Yellow-Pink Lip Liner
Pink-Fuchsia Lipstick
With Hot Pink Gloss
Red Lip Liner
Pink-Fuchsia Lipstick
With Blue-Pink Gloss
January 29, 2010
January 28, 2010
Soft and Sweet Nothings
I'm going to be honest. When it comes to pink eyeshadow, I'm not really a fan of it. Because of that I've always tried looks with pink to try and convince myself that there is a pink out there for me. Here is a quick one that I came up with today that has a base called CedarRose. It's an old shade stick from MAC that looks a lot like the Warm and Cozy shade stick from the Warm and Cozy Collection. I also used Red Brick from the Pop Color collection. :) I like it, but I'm not convinced.
Look at who wanted to get in on the action:
January 26, 2010
Dead Red
There are two things to remember when buying lipstick.
1) Lip Liners
2) Lip Gloss
The reason why I say this is because maybe you don't think that a lipstick is so great until you try it with the matching gloss. Or maybe, you think the color in the tube is beautiful, but it doesn't come out right with your skin tone because you're not using the correct liner. Now this won't always be the case. It could be that some lipsticks just aren't for you which is perfectly fine. But maybe you can find new and exciting things by altering any one of these two variables. Take this for instance:
Remember, this was the bright red look I made over the weekend.
Now what if we try the same lip liner and lipstick combination with a slightly darker gloss?
These two are a nice pilot because neither of these two glosses were too opaque, but you can still tell there is a noticeable difference.
Now let's try using a different lip liner with the same lipsticks and glosses as are in #1.
Immediately by using this new lip liner, you have been able to get a different look and when you diffuse the color of the liner into the lipstick, you can see a range of potential shades, like burgundy, that can come from this new shade.
Now let's try shaking things up. I love wearing black lips. I hardly do it anymore because I want to play with other things, but I do love them. Here is an example of the same dark lip liner above as in #3 with black lipstick on top.
If this is too intense, remember, you can always take a gloss and alter things. So let's take the dark red gloss from #2 and put it over this black.
You still keep the vamp, but you have more dimension and something that might be over all much friendlier to your skin tone.
January 24, 2010
Quick and Easy Glam
So I thought that I would just make this one to show how to get insta-glam starting with a very basic look. This will probably not be all that exciting for the people who follow me on Specktra and is more for people who requested that I do tutorials, so here goes nothing.
Now I love bright eyeshadow, but if you're not really that invested in making some of the more complex layered looks that I like, that's perfectly fine. You can still get a lot of glam out of a little effort. Let's begin shall we?
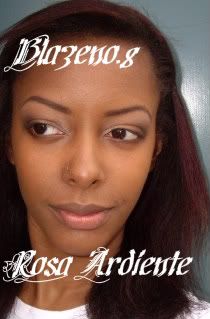
So take this look. This is what I would assume that some people do: Apply foundation, eyeshadow and mascara. You're good to go right? Well sure, but why not take it up a notch?
Start by working with eye liners. There are many types of eyeliners: gel (L'Oreal Hip/MAC Fluidline), pencil, liquid, and eye khol. I like all of them, but for different reasons. In fact most times I use a mix of liquid (upper lid) and pencil (waterline, tightline, lower lid).
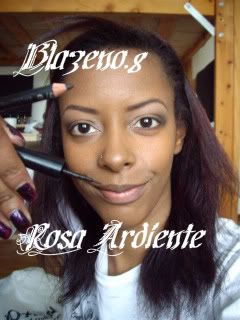
Step 1: Put black pencil eyeliner on your waterline and tightline. This will give a fairly completed tied in look to the eye from my point of view. Rarely if ever do I skip this step. Make sure whichever eyeliner you are using for this is approved for that area. Waterproof eyeliners are *not* safe to put here.

Step 2: Liner your upper lid. You can use anything you want for this, I love liquid liner for my upper lid. I decided to wing this one out.

Very nice. That looks a little better than what we started out with. Now let's do something about the fact that even with mascara I have short and stumpy lashes.
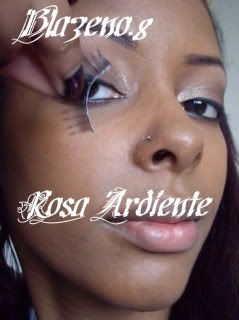
Step 3: I'll add false eyelashes. If it's your first time doing this, you can use clear eyelash glue. This way, if you have to correct anything, the glue will dry clear. Much better than black glue. I would only suggest getting the Duo Adhesive kits if you want a kit. A little pricey, but it's a good glue. It has nice hold and it's easy to take off when you want to. I haven't lost any lashes to it yet ;)
Here I'm using my black glue. Get it along the edges of the lash band and let it dry for 15-20 seconds. After that, line up the lash band with your natural lash line and lightly place the band on the skin, not the lash. The best way to do this is to use a hand-held mirror and look down. Afterward, I adjust the lashes with my fingers, pushing it slightly closer to the lash line as needed and holding it down in some places to get it to stick. If it moves a bit, the black eyeliner that you put down earlier should help hide that.
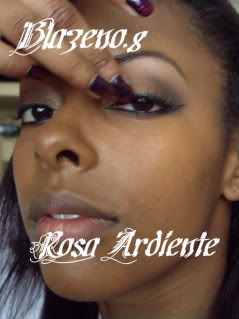
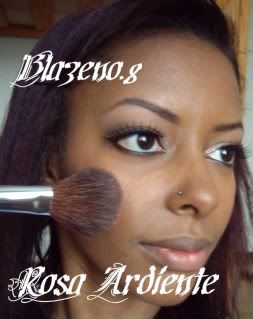
Step 4: The eyes look nice, but the skin and lips are kind of drab. I added a blush/bronzer combo to my cheeks.
Step 5: Now that things are looking better, the quickest way to quick glam is to draw attention to the lips. I'll go for red lips. I take out a red lip liner and draw a "V" in my cupid's bow. I also drew a line at the bottom of my lip. I finish the outline by connecting these lines and not forgetting my corners (it's so obvious if people skip this step).
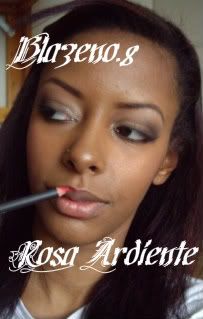
Step 6: Finish filling in the lips.

Step 7: I applied my favorite red lipstick over it.
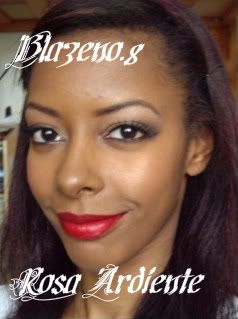
Step 8: I love lipgloss and think it can take your look to the next level. I applied the gloss to the entire lip.

And voila! There you go.
With flash:

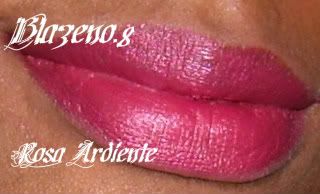
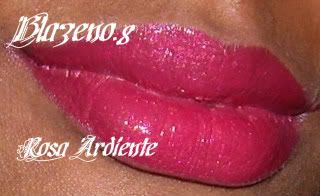
There are many different kinds of red, so you can feel free to play around. This is the same lipstick and liner with a different gloss formula and is a darker shade than the first one I used.

I also like taking red lip glosses and putting them over black lipstick, but we can save that for another day ;)
January 21, 2010
L1lmamaj's Face Chart
Well I did this look from Lil' Mama J's face chart found here: http://l1lmamaj.blogspot.com/
I didn't use all of the products she listed on her face chart, but I did use the same color families. I also added a wee bit of black. Looking at it now I think I went a bit far with the highlight color. I also think my pictures would have looked better if I had been able to take them in natural light (we've been having thunder storms and it's great).
I have my hair up in this picture because I've been trying an experiment. ;)
January 19, 2010
Color Pop Warm Swatches
I have been pleased with the new MAC collection "Color Pop". It's an official collection, but it's one that brings professional and limited edition colors to the permanent line. So it's not a limited edition collection. There were eight colors released in all (you can check either Temptalia.com or Specktra.net for more information about which ones were released).
I ended up getting:
Lucy Green- frosted midtone lime (veluxe pearl)

Brick Red- orange red (matte)
Golden Rod- bright marigold yellow (satin)
Atlantic Blue- bright violet blue (matte)
At the same time I also bought Chrome Yellow.
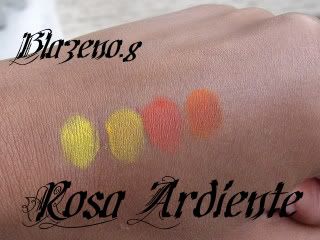
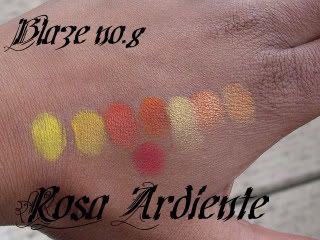
Here are the swatches of the warm colors over Urban Decay Primer Potion:
Left to right: Chrome Yellow, Goldenrod, Brick Red, Orange
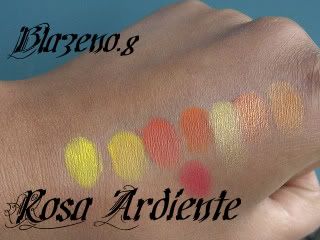
Here are some other warm colors that have been added. Left to Right
Chrome Yellow, Marigold, Brick Red, Orange, Bright Future, Firespot, Off the Page, MUFE 99 (red)
I can't wait to do a Valentine's Day look using Red Brick. ;)
Other than that here is something from the Korean boy band "Super Junior". This song is called "Super Girl" and it's really cute. It's about a nerd who goes to a party and finds the girl of his dreams. I really want to buy their CD when I get a chance.
January 18, 2010
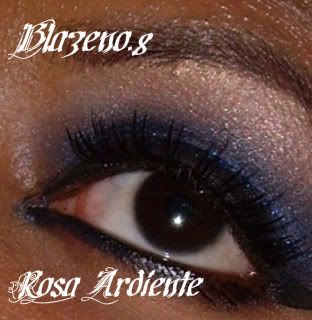
Atlantic Blue Glitter
Yesterday I decided to use some of the new goodies that I got from the Color Pop collection. I love Atlantic Blue and have been lemming after it for quite some time now. As I was working on it, I thought it looked a lot like Style Black and was glad that I didn't buy Blue Flame from that one.
I went to a bar later on that night and when I walked in the door the bartender said she like the look. :)
Subscribe to:
Posts (Atom)